How to Build a Backyard Dessert Patio for Hosting a Cookie Night
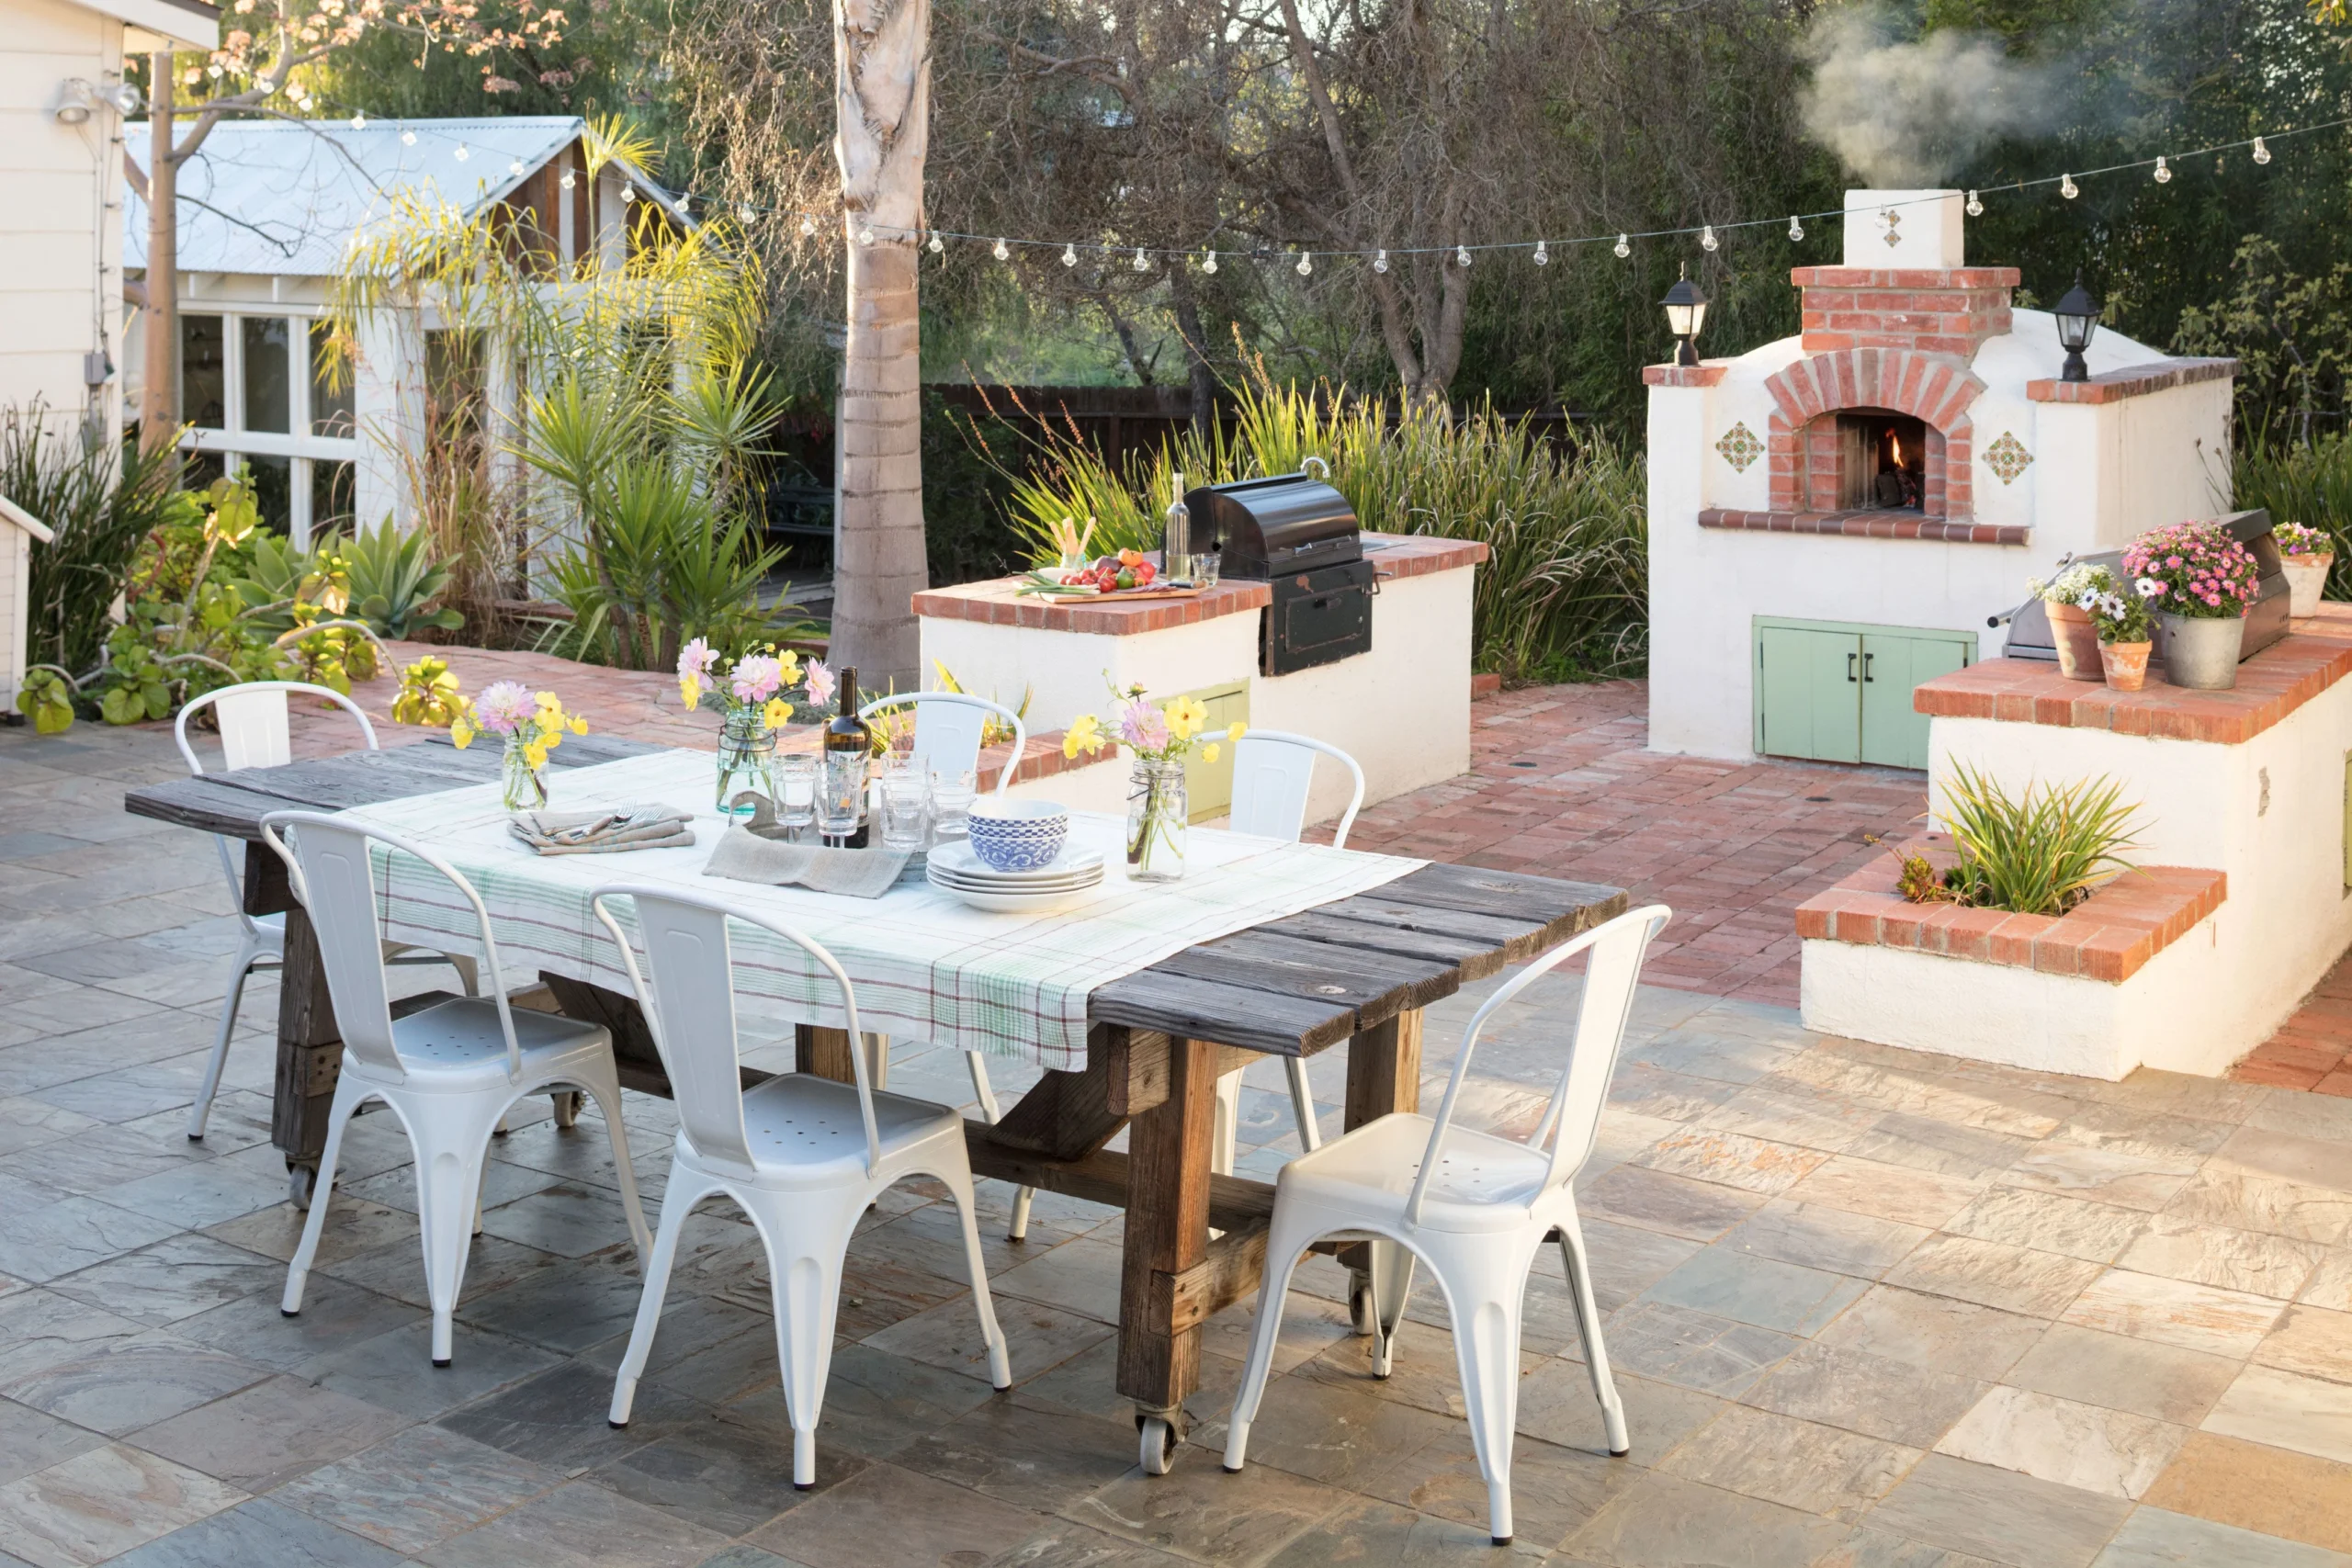
A small paver patio (roughly 8×10 to 10×12 feet) is enough space for a dessert table, a couple of chairs, and room to mingle. You’ll need a compacted gravel base, a leveling layer of sand, and pavers sized to your footprint — a materials calculator makes it easy to get an accurate order instead of guessing and running short mid-project.
TL;DR: Key Takeaways
- An 8×10 to 10×12 foot patio is a realistic, doable DIY size for hosting a small gathering
- The build order is always the same: mark the space, dig it out, compact a gravel base, add a sand leveling layer, then lay pavers
- Base gravel is typically 4–6 inches compacted; sand is a thin leveling layer on top, roughly 1 inch
- Always calculate your planning quantity (with a waste allowance) separately from the raw measured volume, so you don’t run short mid-project
- Set your dessert table up once the patio is done, not before — pavers need time to settle before heavy furniture goes on them
Hosting a cookie night indoors works fine until the group outgrows the kitchen table. A small outdoor patio solves that without turning into a full landscaping project — and it’s genuinely one of the more approachable DIY builds if you plan the space and the materials before you start digging.
Step 1: Size the Space for How You Actually Host
Before touching a shovel, decide what the space needs to hold. For a cookie night or dessert-focused gathering, that’s usually:
- A small table or cart for the dessert spread
- Seating for the group (or standing room if it’s more of a mingling setup)
- Enough clearance to walk around comfortably
An 8×10 foot patio (80 square feet) comfortably fits a small table and a few chairs. If you’re regularly hosting larger groups, 10×12 (120 square feet) gives noticeably more breathing room without becoming a major excavation project.
Step 2: Mark and Dig the Area
Mark the patio’s perimeter with stakes and string or marking paint, and check that it’s square before digging. Dig out grass and soil to a depth that accounts for your full base — typically around 7–9 inches total once you include the gravel base, sand layer, and paver thickness. This is the most physically demanding part of the project; a small patio is very doable solo, but an extra set of hands speeds things up considerably.
Step 3: Add and Compact the Gravel Base
The gravel base is what keeps your patio from shifting or sinking over time. A compacted depth of 4–6 inches is standard for a patio that will hold light furniture and foot traffic rather than vehicle weight. Add the gravel in layers, compacting as you go rather than all at once, for a more stable result.
Step 4: Add the Sand Leveling Layer
On top of the compacted gravel, add a thin leveling layer of sand — about 1 inch is standard. This is what lets you fine-tune the surface to be flat and level before the pavers go down, since gravel alone is hard to get perfectly even.
Step 5: Lay the Pavers
Starting from a straight edge (often the corner nearest your house), lay pavers snugly against each other, checking level as you go. Leave the cutting of edge pieces for last, once the field of full pavers is down — it’s easier to see exactly what size the remaining gaps are at that point.
Getting the Materials Right (Without Guessing)
This is the step where most first-time DIY patio projects go sideways — either over-ordering and wasting money, or under-ordering and having to make a second supply run mid-project. The fix is treating this as a real quantity calculation instead of a rough guess:
- Measured volume — the raw gravel, sand, and paver count based purely on your patio’s dimensions
- Planning volume — the same numbers with a reasonable waste allowance added, since cutting edge pavers and minor spillage are normal
- Supplier order — your planning quantity rounded up to however materials are actually sold (whole pavers, bagged sand, bulk gravel by the ton or yard)
Keeping those three numbers separate — rather than eyeballing one “close enough” figure — is exactly the kind of detail that saves a second trip to the supplier. BuildQuantities’ paver calculator walks through paved area, waste allowance, and full-bundle rounding step by step, and its drainage and base-gravel tools handle the base layer the same way — useful if you’d rather confirm the math than guess at how many bags to bring home.
Setting Up Your Dessert Station Once the Patio Is Done
Give a new paver patio a little time to settle before loading it with furniture — walking on it is fine almost immediately, but hold off on anything heavy for the first few days. Once it’s settled:
- A small cart or folding table works better than a fixed piece for a dessert station, since it’s easy to reposition based on group size
- Keep the dessert table out of direct afternoon sun if your patio doesn’t have shade — cookies and frosting-based treats don’t hold up well in direct heat
- A simple lighting setup (string lights or a couple of lanterns) makes the space usable for evening gatherings, not just daytime ones
Common Mistakes to Avoid
- Skipping the compacted gravel base — pavers laid directly on soil will shift and sink within a season
- Ordering materials based on the raw measured volume only, with no waste allowance built in
- Building the patio to the exact footprint of the table and chairs, leaving no walking room
- Setting up heavy furniture immediately after laying pavers, before the base has had time to settle
Frequently Asked Questions
It depends on your paver size and patio footprint, plus a waste allowance for cut edge pieces — typically 5–10% extra on top of the raw area. A materials calculator that accounts for paver dimensions and waste allowance gives a far more reliable number than estimating by eye.
A compacted gravel base of 4–6 inches is standard for a patio meant for foot traffic and light furniture rather than vehicles.
Yes — a small patio (roughly 80–120 square feet) is a realistic solo or two-person DIY weekend-to-week project, as long as you take the time to properly compact the base rather than rushing that step.
An 8×10 foot patio comfortably fits a small dessert table and a few chairs; 10×12 gives more breathing room for a slightly larger group.
Yes — a thin leveling layer of sand (about 1 inch) sits on top of the compacted gravel base and lets you get the paver surface flat and even before laying them.
A backyard dessert patio doesn’t need to be a huge project. Size the space around how you actually host, get the base and materials right the first time instead of guessing, and you’ll have a proper spot for cookie nights well before the season’s out.
Check Also Cricket Watch Party Guide: What to Serve During Every Break